Topaz continues to improve they’re line of valuable plugins with the new release of Simplify 4. Currently on sale through the end of this month for $19.99 (50% off!) when using the code “febsimplify” during checkout, Simplify 4 provides a quick, easy and very controllable plugin for a variety of painting and line drawing effects. You can see it on Topazlabs.com HERE, or come on in to see a screen shot and read my ramblings on why I think this is a pretty amazing plugin for $20.
Category Archives: Postprocessing techniques
Tutorials and insight into different post processing techniques.
*Topaz Star Effects, on sale just in time for the holidays
With the recent kitchen sink sale that Topaz had, it got me curious about some of the other plugins on offer. I love DeNoise, Clarity and ReMask, but what about all these other cool, quirky plugins? Topaz Star Effects allows a user controlled enhancement for any point of light in your image, and through the month of December, it is on sale at 50% off for $14.99 here at Topazlabs.com when using the code “decstar” at checkout. Well, if you have an extra few bucks lying around, and would like to enhance any points of light in your images, check this out…
*Alien Skin Snap Art 4, Instant digital painting effects
As seen above, Alien Skin has released Snap Art 4, featuring an example image from yours truly! I am a big fan of the Alien Skin plugins and with this new release, they’ve continued to refine one of their most unique offerings.
Painting has never been so easy. With their most recent release, Alien Skin has yet again upped the ante on creative digital photography plugins. Snap Art 4 provides many jumping off points and the final result can vary between a single click, or as much time as you’d like to throw at a painted rendition of your digital image. The use of improved masks and even more creative controls, Snap Art 4 builds on what was already a powerful and fun tool. C’mon in to see more examples and info…
*Topaz ReMask 3, why have I not been using this until now!?
*Authors note: This article was written in October 2013 when Topaz were running a sale on ReMask. I’ve written an updated review and tutorial for the current sale (July 2014) which you can read and get links to the sale HERE.
(*Topaz is currently running a 50% off deal for ReMask through July 2014! Use code “julyremask” to get 50% off Click HERE for details) Topaz is offering yet another one of their awesome plugins at a steep discount through the month of October (50% off using the code “OCTREMASK” CLICK HERE). This time, it is ReMask, and I’m amazed that I have not used this plugin until now. As I’m sure anyone who uses Photoshop or Elements can attest, the task of having to select and mask strands of flyaway hair, or pull a subject from a detailed background can be a bit of a pain… Worry no more, seriously, check this out:
*The Mirrorless Diet, how to lose weight instantly! Part 3
PART 3: Processing your shots
After applauding your choice to invest in featherweight cameras and optics that have the image quality to rival top end digital SLR’s (well, in many scenarios anyway), it all comes down to processing, and turning those files into the beautiful images you knew they’d become. While weight is no longer a huge part of the equation, it is now time to see if we’ve compromised our ability to document our travels for posterity in all their pixel rich glory…
*The Mirrorless Diet, how to lose weight instantly! Part 2
PART 2: Shooting your trip
You’ve already suffered through my long winded gear explanation in the previous post about gear weight in part 1. Here are some of the images and techniques I use with the gear being utilized for each shot, laid out. The above panorama shot was a handheld series of 5 frames, shot in portrait orientation using the Canon EOS-M and 22mm f/2 lens. The third and final part in this series will focus on the actual processing of the shots and won’t really have much to do with backpacking per se, nor the weight saved, but hopefully can show that with these small cameras, image quality is not compromised.
*The Mirrorless Diet, how to lose weight instantly! Part 1
PART 1: Preparing for a trip
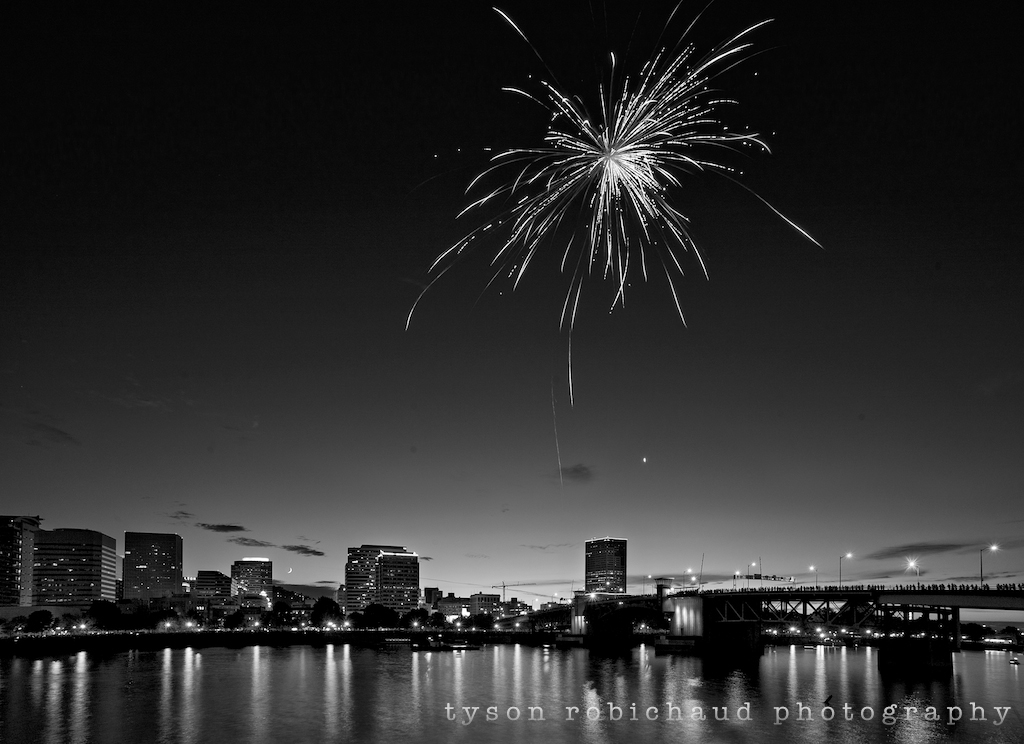
Have you ever had to pack for a trip, a hike, climb, vacation or another adventure where you’d be carrying everything on your back or slung over your shoulder? Gear laid out on the floor the night before leaving for the trip after having unpacked and repacked to see if you could fit everything in less space getting rid of everything you can to save weight. For those that saw their toothbrushes in half to shave off a few grams, or anyone that could stand to lose a little weight in the camera bag, this series of articles may be useful. Now, the question is, can we do this, and still carry quality photographic gear with us?
This will be the first part in a three part article focused on capturing images while backpacking and wanting to keep weight down while not compromising image quality. It is also potentially useful for any travel situation where gear weight may become cumbersome.
I’d like to thank Yukon Trading Company, Marmot, JetBoil, LEKI Trekking Poles, 43rumors.com, Expert Shield screen protectors, and B&H Photo for the continued support, and particularly for much of the stuff provided for me during this trip. Losing weight isn’t always fast and cheap, but they’ve helped make it sexy. Throughout these articles, I’ll be mentioning and linking to various products that I use(d) and highly suggest looking into. Fortunately for me, we got hooked up with companies that put quality at the top of their list. It doesn’t hurt that they also engineer some of the best, lightest and highest performing gear on the market, so, thanks guys!
Never has weight been more a factor for me than when trying to stuff all my gear into a pack with the realization that I’m going to have to carry all this stuff on my back for days on end, all while climbing, hiking and sliding around in the snow. I will start by disclosing that I am far closer to resembling a photographer than a back country, mountaineering aficionado. I’ve certainly been adventurous throughout my life, spending many nights in the elements, climbing and hiking my way to the next spot so that I may eat dried fruit, ramen and nuts for dinner, or do my best to create aches in areas I was previously unaware my body had by forgoing any type of sleeping pad or pillow. Most of the time, when I travel, or set out on any type of adventure, photography is a very large part of it, and I’ve tended to sacrifice other comforts to enable the room for my camera gear. Since adopting a mirrorless setup, I’ve not had to sacrifice at all…
*All Alien Skin Plugins are 50% off until the end of the month!
If you’ve been waiting for an Alien Skin software sale, now may very well be the time. I’ve not ever seen them offer any more than 50% (I don’t even remember seeing a half off sale in the past!) so it is as good as I’ve seen it!
I like the AS plugins a lot, and have been absolutely loving the new Exposure 5. You can read my take on some of their plugins via the links below, and you can buy any of these directly from AlienSkin.com (click here). I get no kickbacks from Alien Skin, and have no monetary incentive to sell their plugins, I just really enjoy using them and for those who may also be interested, it won’t get much cheaper than this. Go get you some.
*Creating an easily repeatable watermark
With so many on line communities, forums and storage based solutions for photographers, we tend to share our images with far more people than we may be aware of. I use flickr and have for years. I have always kept my shared images on flickr to a maximum of 640 pixels by 640 pixels to minimize any actual usefulness to anyone who may want to steal them. Now that flickr is seemingly trying to trick us into sharing larger files by giving us more showcase room, I feel uncomfortable putting certain images out there in any sizable way. I’ve always been very cautious what I’ve put on there, largely because I know it has become the largest illegal stock stealing site the internet has ever seen. Okay, that may be a bit of projective assumption, but I have had a few images stolen (that I am aware of) and used illegally. The worst offender was a Nikon and Microsoft sponsored photography contest in the UK where I was alerted that three of my images were being used on the front page a few years back, without even a sniff of permission. Yeah, a photography contest using stolen images… Anyhoo, c’mon in and I’ll show you how to create a quick action in photoshop where you can easily replicate a watermark with one click…
*Alien Skin Exposure 5, the best keeps getting better.
There are quite a few film emulation plugins to choose from. Looking at the sheer multitude of cross processed filters or “film” replications on offer from different plugins can be daunting. To me, the difference is in the details, and none does a better job in my opinion than Alien Skin’s Exposure has. When choosing a plugin, the biggest and most important features lie mainly in interface, tools available and when discussing a film replication, the actual grain structure and implementation is key. Like past Exposure releases, Exposure 5 gives you a full library of Black and White as well as Color film filters. Many plugins emulate a similar result, but none has paid as much attention to detail, grain reproduction and fidelity as Alien Skin Exposure 5 has, to my eye. With Exposure 5, the new release adds a new user interface and some sweet new controls. Read on for some of the details…


