Anyone familiar with my blog knows I’m a fan of artistic, digital image file manipulation. Be that through actions, plugins or standalone software, I like to use my pictures in a variety of different ways. One thing I’ve always wanted to be better at, but was never able to hone my skill, is painting. So, into my life fell digital photography, but there was that tactile, artistic void left behind. I have tried Corel’s Painter, which is an amazing program, but one that requires just short of a masters degree to fully understand, and is in my opinion much better utilized by those who are already decent actual painters. Well, I’ve always wanted to be able to finely tune, and offer digital painting as a conversion for a digital picture file both personally and professionally, and until I tried my hand at Alien Skin’s Snap Art 3, I had resigned myself to putting it on the bucket list. A plugin for either Photoshop or Lightroom, the seamless and intuitive interface can help you produce digital paintings and drawings with a variety of media in a matter of seconds. Read on for initial feelings and examples…
Tag Archives: tutorial
*HDR 101, Part 2 – Processing Dynamic Range
We’ve been out capturing dynamically diverse scenes in Part 1 of the HDR 101 series, now we get them onto the computer and realize that there are a variety of ways to achieve our vision. From free-ware to thousands of dollars worth of software, there are options. Some are better than others, and some offer a better bang for the buck (in my opinion). Regardless, most all HDR software out there will offer you a free trial, so you can decide which works better for your vision. That said, here are a couple techniques using Photoshop, Everimaging HDR, and a very popular HDR software, Photomatix, along with discount codes if you choose to purchase 🙂 Read on for more…
*Free Photoshop Contrast Pop Action!
Here is a brief tutorial on how to add a contrasty “look” to just about any picture. There are sites out there to purchase many of these types of actions, and some of them are well worth the price, but I’ve found that through my years, many other photographers have offered up free advice as I was learning to scrape the surface of Photoshop, which enabled me to gain a deeper understanding of my post processing. So, in this tradition, I shall try to pay back a bit of that help by offering up this little trick. I know that many photographers would rather spend their free time taking pictures, not in front of a computer processing them. I myself find enjoyment on both sides of this coin, but I sure don’t mind being able to quickly automate some of my more “used” techniques. This is one of them…
*The 5 minute Greenberg Treatment.
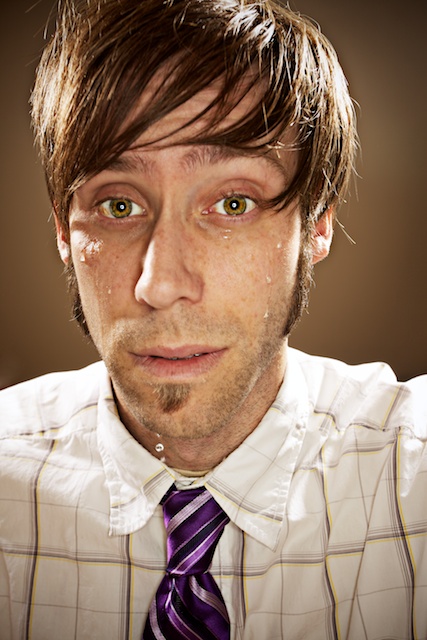
For those who do not know, Jill Greenberg is a famous photographer to the stars. Some of her work has received, uh, criticism, for her use of light or tactics to achieve certain reactions with, or effects on her subjects (see the crying babies in her ‘End Times‘ series, or the now famous John McCain shoot). I call it art, but I do fall on the crass, perhaps cynical side of the human spectrum. Regardless of your personal feelings toward her, the lighting she uses is dramatic. Her style has been duplicated by many a strobist and comes about by a pretty easy to replicate setup. Now, to do it well, is a bit trickier but we gotta start somewhere right? Read on for a quick light set-up and easy to follow post processing technique. Continue reading
*Floating in Photoshop! How to levitate in a photo.
*Wanted to thank everyone who has stopped by to read this post over the last few years. I’ve received quite a few emails and seen links back to this article from many different forums based in many different countries. Thank you! As originally mentioned in the tutorial below, this isn’t a particularly original tactic, but if you put your own spin on it, it can produce some really cool imagery. Okay, on to my original posting, and thank you again for everyone who has stopped by. I’ve been really excited to converse, learn and meet with many of you since I started this blog over three years ago!
Enjoy,
Tyson
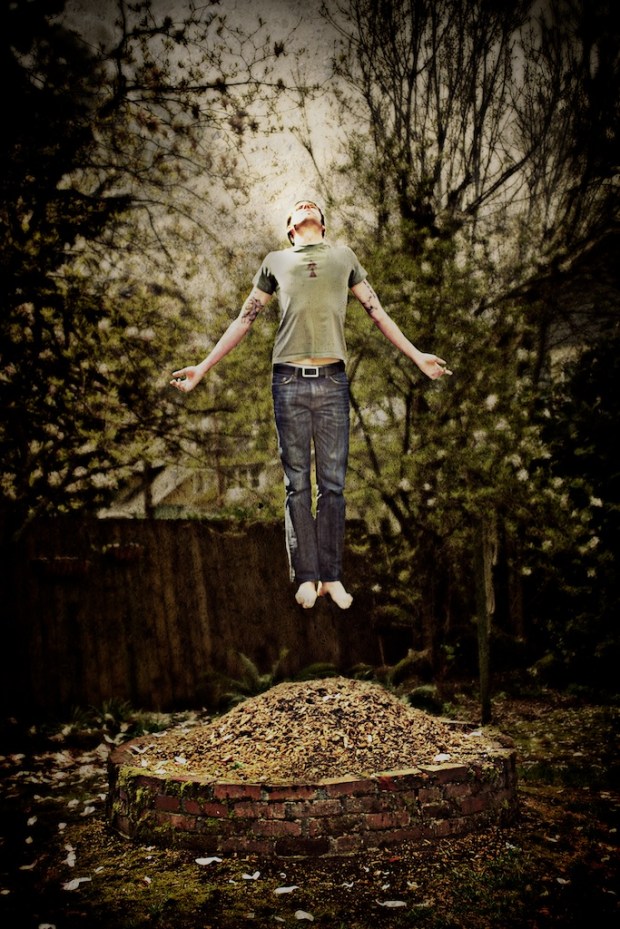
This is not an original idea, but so few ideas are anymore. While it may be a well used tactic, it can be very effective. I’ve played around with this technique a few times and it is one that when done decently will almost always get a “wow!” or at least a “huh, wait, what?” It is easy to do as well. It requires Photoshop, or if you are fundamentally against paying $600 for software you can download GIMP. I’ve used Photoshop for this one, so if using GIMP, you will need to translate these steps into GIMP-speak which shouldn’t be too hard.
Okay, our goal is to appear to be floating, or hovering so unless you’re an accomplished zen levitation master, you will need to take two pictures to create the illusion.
*A photographic study in color, Henri Matisse style.
Henri Matisse (1869-1954) is known for being one of the originators of the Fauvist style where contemporary impressionist rendition gave way to bold color and hard lines. His use of complementary colors and shape provided a twist on traditional French painting. While Fauvism was seen by some to be untrained and wild by comparison to contemporary style at the turn of the century, the use of vibrant, expressive colors enabled Matisse to direct the viewers eye through his canvas leading his viewer’s attention where he wanted it.
I’d like to play with the idea of utilizing complementary color using photography as our medium.
*Focal Length, Crop Factor and Field of View
Focal length? Effective focal length? Actual focal length? Crop factor? Do you get more reach with a crop sensor? Is it equal to a longer focal length? There are some misconceptions surrounding what happens when a lens is used on cameras with different sensor sizes. Let’s have a look at the differences between a full frame, APS-C and micro 4/3 sensor.
*Your Micro 4/3′s camera + your existing lenses = limitless fun.
Who cares that Olympus and Panasonic have released relatively few lenses, mainly slow zooms, for the micro 4/3’s cameras? Adding m4/3 mount adapters to your bag opens up a bevy of hundreds of lenses. What you gain in variety though, you may loose in automated functionality. Continue reading
*High Dynamic Range with Photomatix
Are you ever frustrated by scenes that are too dynamically diverse having to lose your highlight and shadow info to expose for the midtone ultimately losing the shadows to dark noisy areas and blowing out your highlights resulting in detail-less white blotches? I think that I can help. This isn’t the only HDR or Photomatix tutorial on the web, but you’re here, and it’s free. Regardless of how you feel about some of the HDR imagery that can bombard the senses, combined with the proper capture technique HDR software can help achieve, photographically ,the dynamic range that the human eye is capable of seeing. By using this method of combining bracketed exposures, you can save yourself hours of dodging and burning, masking and aligning in Photoshop, with simple HDR software, or you can create your own fantasy cartoonish grunge-scape if that’s what you’re after. I will walk you through step by step instructions regarding the proper capture and postprocessing techniques using the popular HDR software, Photomatix from HDRsoft. I also have a discount code to offer you 15% off (TRP15) if you choose to purchase the software. To follow along, Photomatix is available as a non-expiring full free download (it will just watermark your images) to use and feel out the benefits to this very popular tool in digital photography. Read on for links, techniques and a software discount…
*RAW vs. JPEG
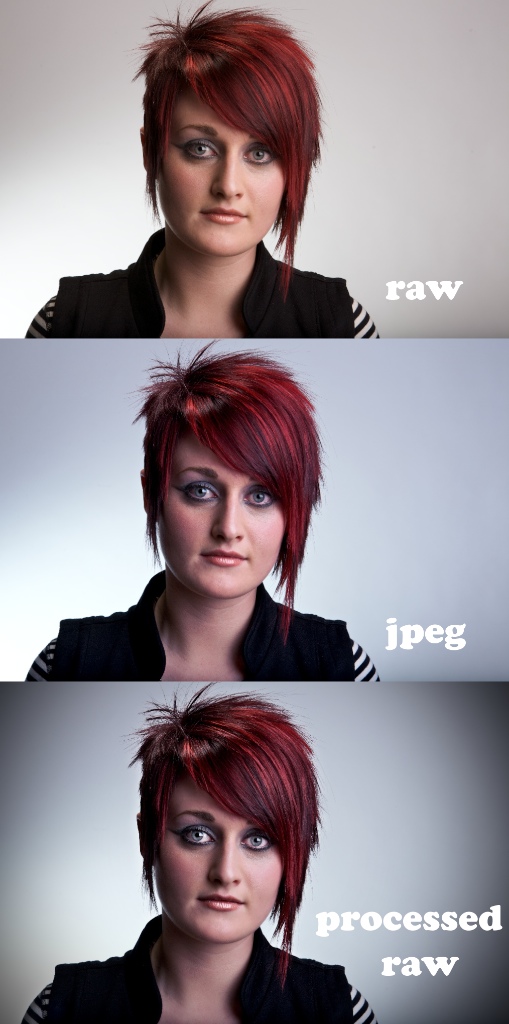
Which file format should you shoot in, when and why? Now that most photography is being captured in a digital format, we have so many more choices when it comes to processing our image files. Granted, the amount of time you spend in front of a computer may be directly taking away time from behind the lens, but the question remains, do you prefer being an chef, or would you rather have someone else cook your images for you? Continue reading


