We’ve been out capturing dynamically diverse scenes in Part 1 of the HDR 101 series, now we get them onto the computer and realize that there are a variety of ways to achieve our vision. From free-ware to thousands of dollars worth of software, there are options. Some are better than others, and some offer a better bang for the buck (in my opinion). Regardless, most all HDR software out there will offer you a free trial, so you can decide which works better for your vision. That said, here are a couple techniques using Photoshop, Everimaging HDR, and a very popular HDR software, Photomatix, along with discount codes if you choose to purchase 🙂 Read on for more…
So, by way of our AEB, or manual capturing techniques established in Part 1, we’ve accumulated multiple shots at varying exposure values of the same scene which we need to take the properly exposed portions of each, and combine them into one singular picture file.
Below, I’ll go over a couple different Photoshop techniques as well as run a series of bracketed images through Photomatix and HDR Darkroom to show you different results from the same scene. Click on any of the images to see a larger version.
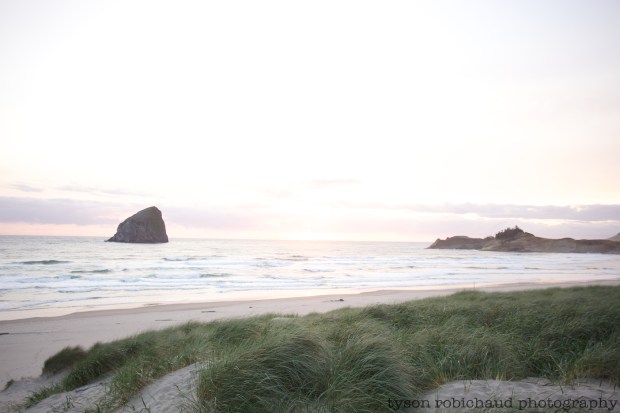
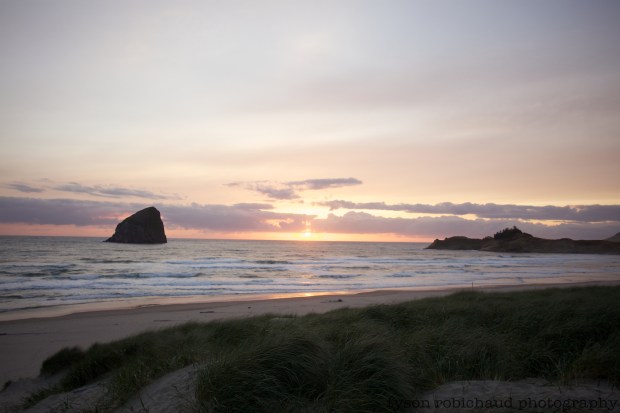
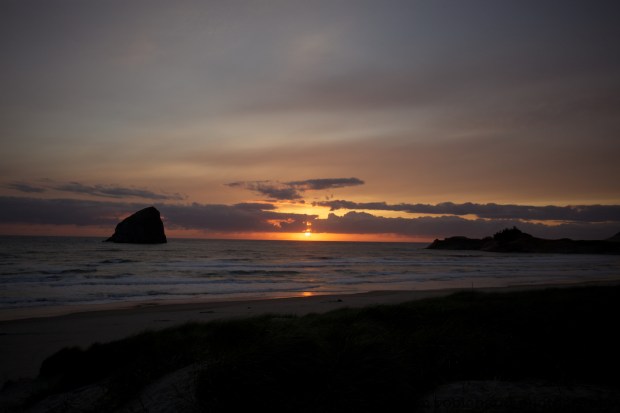
Here are our three images at differing exposures:
First, we’ll look at using Photoshop.
Aside from ‘merge to HDR’ in PS, I have often used two or three images and just merely layered and masked portions to mimic a grad filter essentially. It’s an easy way to do it, and depending on the scene may be all you need.
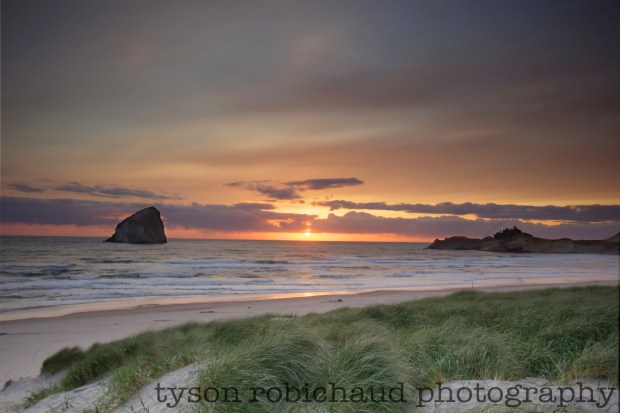
Here, I’ve used the 3 exposures above. I opened all three in Photoshop CS5, and starting with my 0EV shot, I used [SHIFT]+MOVE (V) and dragged each of the other shots on top of it. By holding ALT/OPTION and clicking on the ADD LAYER MASK option at the bottom of the layers palate on both of my new layers (+2EV/shadows and -2EV/highlights), it automatically hides the entire layer. I then used a linear GRADIENT TOOL (G) and with white, dragged from the top of the image in the -2EV layer mask which revealed the darker sky, and did the opposite, dragged from the bottom of the image in the +2EV layer mask to reveal the properly exposed grass and sand in the foreground. With a soft brush at about 15% opacity, I refined my masks little by little to try to achieve a ‘realistic’ blending throughout the image. Finally, I adjusted each of my two added image layers to about 85% opacity to further blend them with the background (0 EV image).
The result:
____________
After having acquired a couple different HDR processing software packages, I’ve not really used the Merge to HDR option in Photoshop much as I never really had great results, nor really felt I’d gotten a handle on how to further use it as a jumping off point when I’d instantly get better results from my other programs or techniques when it came to processing HDR imagery. To find the Merge to HDR option with Photoshop (CS3 or later) Go to FILE > AUTOMATE > MERGE TO HDR and select the files you’d like to merge. Click okay and then your merged image is created and you have a series of sliders to adjust to fine tune your tone mapped image.
Here are the same 3 images run through the ‘merge to HDR’ automation in CS5:
I’ve heard that in CS5, the Merge to HDR function has been greatly improved. I cannot speak to it one way or another as like I’d said, I rarely used it in CS3 and this was the first time I’ve used it in CS5. I’m sure it is capable of better results than mine exhibits, but I spent a couple minutes attempting to adjust the image without flattening out the contrast and feel that the final result with these three exposures created my least favorite final image from the 4 methods I used. The highlights (sun primarily) are blown and the color banding is far from desirable. If you have Photoshop, it is there to play with, but then you could also do the multi-exposure masking technique which I feel offers a better result personally.
____________
Next, we will process the same images in Photomatix v.4 for comparison’s sake.
Using the same exact 3 images, Photomatix created this:
While this is a little too “HDRish” for my personal taste, I chose this preset (of which there are a dozen or so included and you can add as many as you’d like) as I thought it was a pretty good one click version which showed decent highlight retention and shadow exposure. I use Photomatix more often than any other method here when processing HDR images and would suggest looking into it if HDR appeals to you. You can download a full free, watermarked version HERE. If you choose to purchase it, input “TRP15” at checkout to receive a 15% discount. To read through my more thorough, step by step processing tutorial using Photomatix you can find that HERE.
Finally, the same three images run through Everimaging’s HDR Darkroom yielded this:
Because I use a Mac, I cannot use their higher end “HDR Photo Pro” which is Windows only. I found HDR Darkroom a good beginner package, but very limited by comparison to Photomatix and the interface was a bit clunkier. Regardless, I do feel it produced a decently realistic rendering with just a little tweaking, but one thing that I found frustrating was that when saved to a TIFF file out of the program, my highlights and most all tones higher than midtone came out pastel-ish by comparison to what they had appeared in the program itself. I tried it a few times with my saved preset and the result was the same. The simplicity may appeal to some out there, and if so, you can download a trial version or purchase a full version from Everimaging HERE. Again, if you do purchase either of their programs, you can use “TRP15” to gain a 15% discount there too! If and when HDR Photo Pro becomes available for the Mac OS, I would be eager to put it through its paces as HDR Darkroom shows signs of greatness, but is hampered by its limited tools for me.
Here are all the images in slideshow form to show the differences:
If you missed the first part of our HDR 101 series, you can go back to it HERE.
I’m hoping to be continuing the 101 series with some fun black and white processing a-la the zone system which, through capture and print, was kind of the first formal approach to teaching an extended dynamic range technique to a large audience…
As always, I’d be happy to try and answer any questions you have via the comments below or via email.
Sign up to get all my tutorials and articles via email at the top right of the page if you’re interested.
Happy shooting!
Tyson


Well, I know this is a little late, but I saw a black and white version of this on your desktop screen last time we were together that I thought, “darn, that one print is better than anything I took in a week of being there”. I guess that, little did I know, it was a layering of different exposures, doesn’t matter the program, and it turned out great. I hope you print it large, and it’s even worthy of an out-of-house really large print, in my opinion. There was just something about the sea grass (is that what it is, or am I revealing my ignorance, again?) in the foreground and the haystack rock (or is it “haystack rock”) in the background that I thought made a stunning print (or would make a stunning print) in black and white. Think of me at Christmas please. Ha! Thanks for the evaluation of the different HDR versions. Why aren’t you writing for one of the leading photo mags, at least you could be an editor-at-large, not to be confused with a large editor. If that were the case, you have a ways to go. Anyway, I had to comment on the composition, lens, (whatever it was, but it says wide angle) and intelligence of making the perfect combination of exposure for all aspects of the scene. Thanks again, and job well done.
LikeLike
Hi Dan,
I will gladly print this for you, and thank you for the kind comments. We’re looking forward to making it out in a couple weeks and we will have to further discuss technique, et al (which never seems to be a problems for us 🙂 )
t
LikeLike
Pingback: *Everything you need to know about digital photography. Two years of tips, tricks and various freebies, revisited. «
Pingback: *HDR 101, Part 1 – Capturing Dynamic Range « Tyson Robichaud Photo-blography
Pingback: *How to shoot HDR Composite imagery with people | Tyson Robichaud Photo-blography
Pingback: *How to shoot HDR Composite imagery with people | The Camera Life