Hi all! I’m now a contributing writer for the Alien Skin website via their blog (read HERE), and this article was my first published tutorial showcasing a simple trick to add drama to any image. It is a very cool, very easy and arguably effective trick to use for just about any type of image that might benefit from a little contrast based depth and drama. I’ve employed this trick for as long as I’ve been using Exposure which has to be going on about 6 years now, and it is one of my go to’s whenever I want a bit more edge in my images.
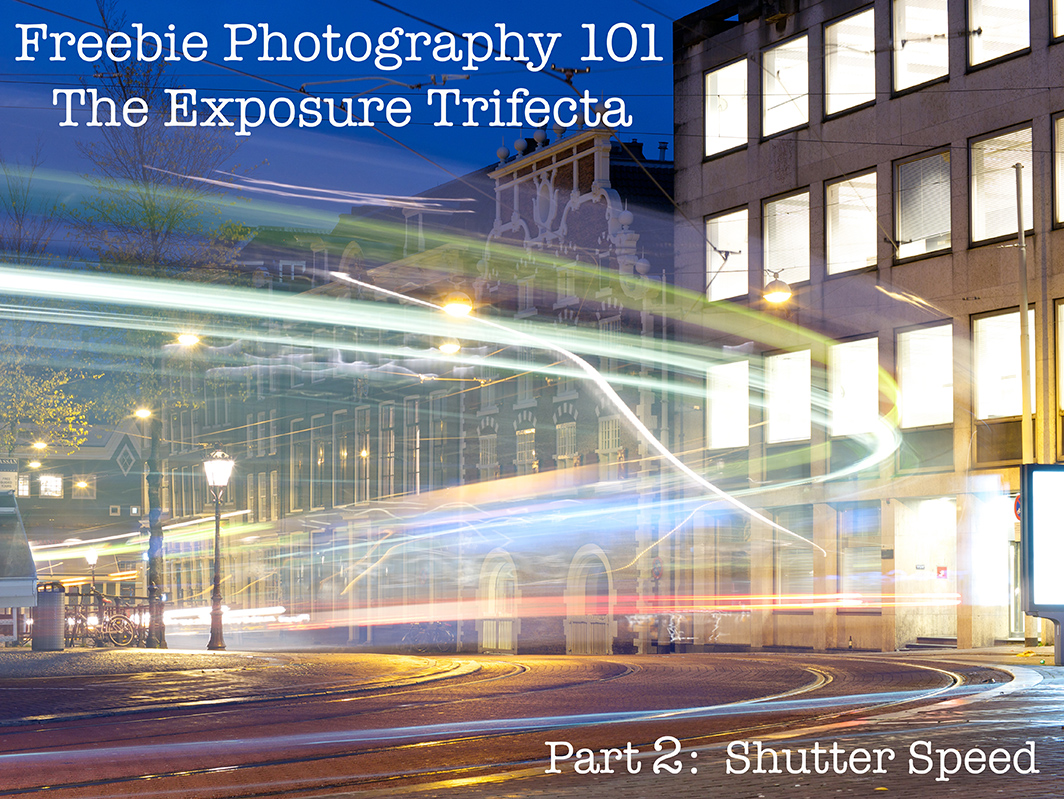
Welcome to part 2 of our Freebie Photography series where we are exploring the Exposure Trifecta. In our first installment, we discussed the aperture of a lens and how it affects both the light through a lens, and the depth of field when adjusted. If you missed it, you can read Part 1 HERE.
Today, we’ll go over the second of our three primary exposure functions, our shutter speed.
don’t worry, there were no kids harmed during the photoshopping of this image.
Hello everyone! You may have noticed that I’m quietly adding content to the site. This is being done to try and make a more complete resource for those visiting the site to reference specific tutorial articles or find gear reviews, etc. The biggest changes are the new “Tutorial” “Review” and “MyGear” pages up at the top of the page. I will be trying to catalog the more popular tutorials and reviews for easy reference, and the new gear page has allowed me to link certain cameras, lenses and miscellaneous gear that I use to my affiliate links at B&H. Yup, you read that right. I’ve finally succumbed to the monetary necessity of trying to make a little coin to keep the site going. Read on for my reasoning and ever cheesy gratitude…
Just a quick comparison pre and post firmware v1.5 update showing the difference that the IBIS (In Body Image Stabilization) makes when using adapted, third party lenses in video mode on the Olympus OM-D E-M5.
The above video was shot using a Canon FD 55mm f/1.2 SSC lens adapted to the OM-D E-M5 with segments using firmware v1.2 to show the lack of IBIS support compared to the same setup after the firmware update to v1.5. I was walking with the camera held out in front of me to further amplify the differences that the IBIS can make for video. I would certainly suggest standing still, IBIS or not when shooting video because nobody wants to watch this type of vomit inducing drivel, with the distinct exception of gear nerds like myself, in small, short doses of course.
To properly engage the IBIS when using adapted lenses for video, you’ll need to manually enter the focal length (just as we have to for still shooting) in the Image Stabilization sub menu.
Along with the added IBIS support in video capture for third party lenses, the update included a muting (or more accurately a disengagement) of the IBIS humming when the camera was inactive prior to entering sleep mode. Unfortunately, we didn’t see some of the other issues we’d raised last week addressed (like focus peaking, high ISO banding, etc) but these are two good changes and hopefully are merely the beginning of the firmware update chain for this camera.
This is a quick and easy action which I use often. While so many photographers (myself included) spend time and money in software to correct for light falloff, I like to go the other direction and introduce it sometimes. Of course, there are times and places where a darkened vignette doesn’t make sense, and that time, and cost spent to correct it come into play, but for the times you’d like to delicately direct attention to a specified area, this action can help that happen. Also, you can completely determine the “shape” of the vignette to suit the frame. C’mon in and see the difference a vignette can make.
Eyes are not only a window, but a roadmap. I’ve always felt that I can tell a lot about a person based on the shoes they wear, and the kind of person they are by their eyes. Eyes tell you a story, they paint emotion and can determine the power of a portrait. Of course there are many, many other elements to pay attention to, but a good portrait quite often starts and ends with the eyes. Even in snapshots, making sure everyone’s eyes are at least open is one of the first things you check when glancing on the LCD screen right? Assuming we’ve captured a shot with eyes open wide, getting them to pop can make the difference between a good portrait and a wow shot. Here are a few techniques that I use, and have found from others, that can help make those eyes stand out.
Why do we take pictures? For the majority of us, I’d guess it falls somewhere into the realm of, enjoyment and/or documentation. Regardless of the medium, whether it be digital or film, we like to preserve moments and may enjoy trying to do so with some level of artistry. Isn’t it nice when someone says, “wow, that is cool!” or “how did you get your picture to look like that?” Simply put, many of us enjoy taking pictures because we like to and it’s nice when that is noticed or appreciated. Add in a few cool tools and enjoyment can turn into excitement from behind the lens.
What do you mean John McCain doesn't normally look like that?
For those who do not know, Jill Greenberg is a famous photographer to the stars. Some of her work has received, uh, criticism, for her use of light or tactics to achieve certain reactions with, or effects on her subjects (see the crying babies in her ‘End Times‘ series, or the now famous John McCain shoot). I call it art, but I do fall on the crass, perhaps cynical side of the human spectrum. Regardless of your personal feelings toward her, the lighting she uses is dramatic. Her style has been duplicated by many a strobist and comes about by a pretty easy to replicate setup. Now, to do it well, is a bit trickier but we gotta start somewhere right? Read on for a quick light set-up and easy to follow post processing technique. Continue reading →
Under the bridge, completely enveloped in shadow...
Are you ever frustrated by scenes that are too dynamically diverse having to lose your highlight and shadow info to expose for the midtone ultimately losing the shadows to dark noisy areas and blowing out your highlights resulting in detail-less white blotches? I think that I can help. This isn’t the only HDR or Photomatix tutorial on the web, but you’re here, and it’s free. Regardless of how you feel about some of the HDR imagery that can bombard the senses, combined with the proper capture technique HDR software can help achieve, photographically ,the dynamic range that the human eye is capable of seeing. By using this method of combining bracketed exposures, you can save yourself hours of dodging and burning, masking and aligning in Photoshop, with simple HDR software, or you can create your own fantasy cartoonish grunge-scape if that’s what you’re after. I will walk you through step by step instructions regarding the proper capture and postprocessing techniques using the popular HDR software, Photomatix from HDRsoft. I also have a discount code to offer you 15% off (TRP15) if you choose to purchase the software. To follow along, Photomatix is available as a non-expiring full free download (it will just watermark your images) to use and feel out the benefits to this very popular tool in digital photography. Read on for links, techniques and a software discount…
Which file format should you shoot in, when and why? Now that most photography is being captured in a digital format, we have so many more choices when it comes to processing our image files. Granted, the amount of time you spend in front of a computer may be directly taking away time from behind the lens, but the question remains, do you prefer being an chef, or would you rather have someone else cook your images for you? Continue reading →