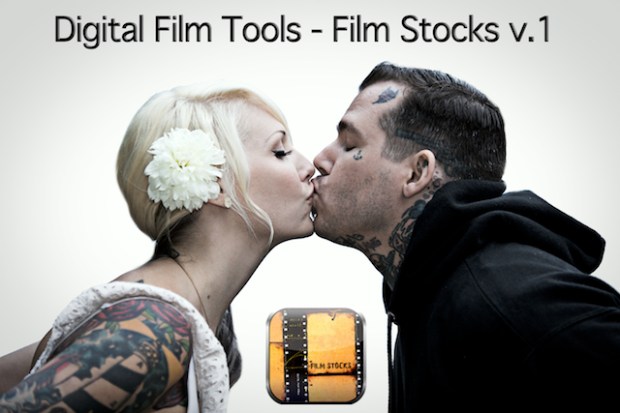
Officially announced and available immediately for $95usd (still image plugin) or $195usd (video plugin) this new offering from Digital Film Tools gives you the same amazing layer based control as Tiffen Dfx v.3, for 288 different film stock replications. Read on for examples and more info…
Tag Archives: lightroom
*Everything you need to know about digital photography (well, almost). Two years of tips, tricks and various freebies, revisited.
With my blog’s second anniversary coming up, I wanted to thank everyone that has stopped by, commented and added to the content. It’s been a fun couple of years and has been far more educational for me than I’d ever thought it would have been. I wanted to make a list of my more popular posts as well as some that can help some of us who may be just stumbling into the fold. Any of us who have recently acquired a new camera and may be wanting to learn how to use it to its potential, or are looking to build up a few post processing techniques, I’ve compiled some of the more useful and popular posts below…
*Snap Art 3, unleash your inner artist!
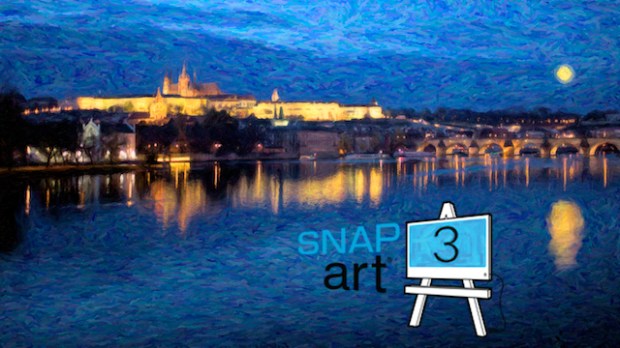
Anyone familiar with my blog knows I’m a fan of artistic, digital image file manipulation. Be that through actions, plugins or standalone software, I like to use my pictures in a variety of different ways. One thing I’ve always wanted to be better at, but was never able to hone my skill, is painting. So, into my life fell digital photography, but there was that tactile, artistic void left behind. I have tried Corel’s Painter, which is an amazing program, but one that requires just short of a masters degree to fully understand, and is in my opinion much better utilized by those who are already decent actual painters. Well, I’ve always wanted to be able to finely tune, and offer digital painting as a conversion for a digital picture file both personally and professionally, and until I tried my hand at Alien Skin’s Snap Art 3, I had resigned myself to putting it on the bucket list. A plugin for either Photoshop or Lightroom, the seamless and intuitive interface can help you produce digital paintings and drawings with a variety of media in a matter of seconds. Read on for initial feelings and examples…
*The Eyes Have It.
Eyes are not only a window, but a roadmap. I’ve always felt that I can tell a lot about a person based on the shoes they wear, and the kind of person they are by their eyes. Eyes tell you a story, they paint emotion and can determine the power of a portrait. Of course there are many, many other elements to pay attention to, but a good portrait quite often starts and ends with the eyes. Even in snapshots, making sure everyone’s eyes are at least open is one of the first things you check when glancing on the LCD screen right? Assuming we’ve captured a shot with eyes open wide, getting them to pop can make the difference between a good portrait and a wow shot. Here are a few techniques that I use, and have found from others, that can help make those eyes stand out.
*Alien Skin Bokeh 2
Bokeh (/bō’kɛ/): In photographic terms, has grown to mean the subjective quality of the out of focus areas in a photograph, and how a particular lens renders out of focus points of light (adopted from the Japanese term boke 暈け, meaning fuzzy, disoriented, et al). Pronounced BO (as the bo in bone) and KE (as the ke in ken) if we are taking it directly from the Japanese word, while the “h” was added to help non Japanese speaking photographers pronounce this adopted term (see the wikipedia article for the history on the term and idea in photographic application). While the definition, pronunciation and it’s subjective nuances are often debated as to it’s application in the photographic realm, it hasn’t stopped Alien Skin from creating a plugin that beautifully applies an out of focus blur to selected areas of an otherwise focused image. With their second release, Bokeh 2 has added new bells and whistles as well as a more refined control of both radial and planar regions within an image and it’s area of focus. Read on for examples and why I think this is a wonderful deal of a plugin.
*Presets! Less talk, more rock! Or, one easy way to streamline your workflow.

Presets, a key to streamlining your workflow. (*using a New York Times Mag Aperture3 preset by Zurli) - image ©tyson robichaud photography2010
Alright alright now. No matter what your stance is on post processing, love it, hate it, meh, one thing that is hard to deny is that for the average photographer, digital photography requires a bit more time than shooting film on an image by image basis. Yes, our feedback with digital is instantaneous, yes we are able to immediately adjust on the fly but one thing that has crept into the equation is the amount of time needed after shooting to upload, catalog, tag, process and archive all of your images (not to mention, many of us tend to take quite a few more images per outing now that we get more than 24 exposures a round). One helpful tool is the use of presets, or actions. These are a series of repeatable adjustments and instructions applied to your digital file so that you don’t have to manually adjust each and every one individually. Read on for links, examples and tons of freebies for APERTURE, LIGHTROOM and PHOTOSHOP presets and actions…
*Exposure 3, third time’s a charm!

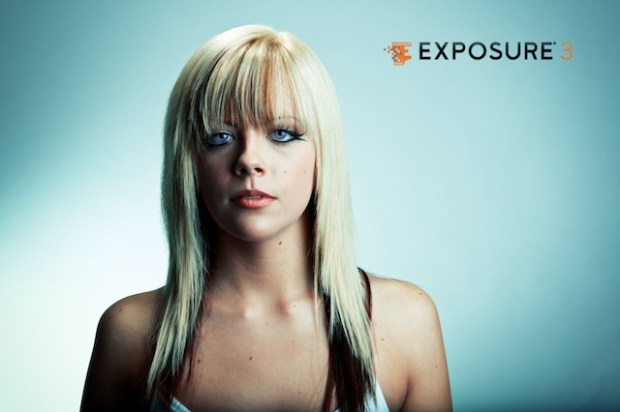
Alien Skin's Exposure 3 makes your digital files instantly feel film like. - ©tyson robichaud photography 2010
I have been curious about the Alien Skin Exposure software plugin for Photoshop for a long time. With the third iteration, Exposure3 has taken their film simulation software even further. Read on for examples and reviews…
*Authors note: Link to Alien Skin’s Newsletter showing this article here!
To those who’ve come from the newsletter, welcome!!!
(March 2012) Now that Exposure 4 has been released, you can read my updated review HERE!


