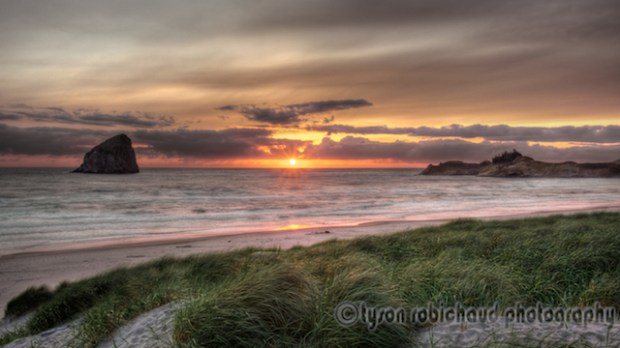
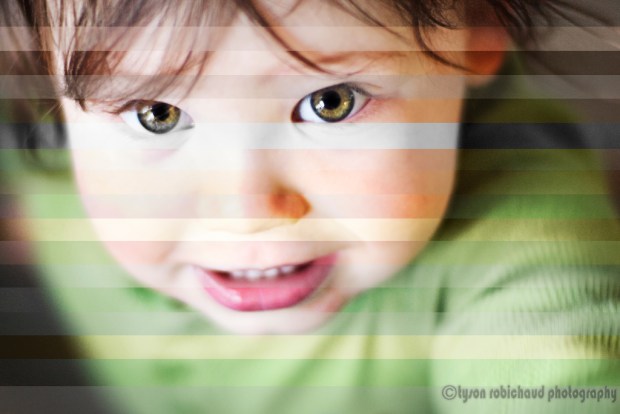
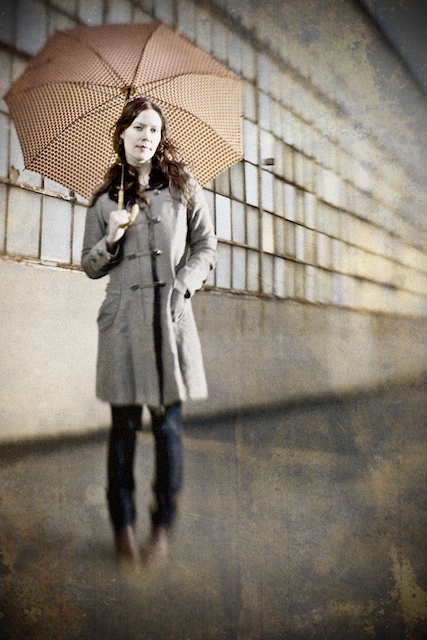
This is a quick and easy action which I use often. While so many photographers (myself included) spend time and money in software to correct for light falloff, I like to go the other direction and introduce it sometimes. Of course, there are times and places where a darkened vignette doesn’t make sense, and that time, and cost spent to correct it come into play, but for the times you’d like to delicately direct attention to a specified area, this action can help that happen. Also, you can completely determine the “shape” of the vignette to suit the frame. C’mon in and see the difference a vignette can make.
Category Archives: Software tutorials / reviews
*Snap Art 3, unleash your inner artist!
Anyone familiar with my blog knows I’m a fan of artistic, digital image file manipulation. Be that through actions, plugins or standalone software, I like to use my pictures in a variety of different ways. One thing I’ve always wanted to be better at, but was never able to hone my skill, is painting. So, into my life fell digital photography, but there was that tactile, artistic void left behind. I have tried Corel’s Painter, which is an amazing program, but one that requires just short of a masters degree to fully understand, and is in my opinion much better utilized by those who are already decent actual painters. Well, I’ve always wanted to be able to finely tune, and offer digital painting as a conversion for a digital picture file both personally and professionally, and until I tried my hand at Alien Skin’s Snap Art 3, I had resigned myself to putting it on the bucket list. A plugin for either Photoshop or Lightroom, the seamless and intuitive interface can help you produce digital paintings and drawings with a variety of media in a matter of seconds. Read on for initial feelings and examples…
*HDR 101, Part 2 – Processing Dynamic Range
We’ve been out capturing dynamically diverse scenes in Part 1 of the HDR 101 series, now we get them onto the computer and realize that there are a variety of ways to achieve our vision. From free-ware to thousands of dollars worth of software, there are options. Some are better than others, and some offer a better bang for the buck (in my opinion). Regardless, most all HDR software out there will offer you a free trial, so you can decide which works better for your vision. That said, here are a couple techniques using Photoshop, Everimaging HDR, and a very popular HDR software, Photomatix, along with discount codes if you choose to purchase 🙂 Read on for more…
*HDR 101, Part 1 – Capturing Dynamic Range
Politics, Religion, Economics, HDR. There seems to be little in the photographic world that starts such heated discussions as the concept of HDR photography and processing. Truth of the matter is, it is a very popular technique and can be done with a multitude of results, some more visually shocking than others, but I believe HDR gets a bad rap too often. Let me start off by saying, I am not an HDR expert. I do not feel that my techniques are an end all by any means, but I have figured out some very helpful techniques that I feel can benefit those looking to get into, or better understand capturing and processing HDR imagery. For me, capturing the dynamic range of a scene is the primary concern while the way these bracketed images are processed is an entirely personal decision. Too often, I see people tonemapping single images, or running them through an HDR-like software to give it that grungy, gritty look and calling it “HDR.” While many of those images have a very cool look to them in their own right, it still doesn’t quite qualify as a high dynamic range photo by definition in many cases. C’mon in and we can discuss ways to capture the whole dynamic range of any particular scene along with some tips and tricks.
*Free Bleach Bypass photoshop action.
Bleach Bypass is a fun way to add contrast and moodiness to an image. Because of the way it renders luminance, it tends to flatter skin tones in that it will push the highlights a bit which, if controlled, can produce nice, smooth skin.
Used in color film processing where the bleach portion was skipped, resulting in the emulsion retaining the silver and color dye in the process, it produces high contrast images with muted colors. Digitally, it can be reproduced by layering a black and white duplicate over the color image and adjusting the blend mode in photoshop…
*Kubota Lensbaby Action Pak!
With all the Lensbaby fun of late, I went in search of ways to enhance the Lensbaby experience and stumbled across the Kubota Lensbaby Action Pak! For those not familiar with Kubota actions, they’re purchasable groups of photoshop actions (very popular with studio, event and wedding shooters) which provide you with quick, easy and repeatable adjustments with the click of a button. Based in Bend, Oregon, they’re just down the way from me so I decided to get in touch with them and they were very gracious to let me play around with their Lensbaby Action Pak which includes 15 actions tuned for image files taken with various Lensbaby optics. As they say, a picture is worth a thousand words, and while I never have a problem rambling on and on, I will let the image examples show off what these actions do. Starting with the original image taken with a GF1 and the Lensbaby TT + Composer / double glass optic and on through each of the included 15 Kubota Filters:
*30% off Alien Skin Software!!!!!!!!
(*while this is the older promotion, Alien Skin is currently offering a 30-40% off sale on all their software through April 17th, 2012 SEE HERE!)
I’m not the type to promote every discount or product out there (just the ones that I like), but having been fortunate enough to review a couple of the Alien Skin software products recently, I will say that A) they are a cool company with great folks representing them and B) they make a killer product. That and I wanted to pass this along just in case anyone out there reading is interested. I make no money from this and I’m honestly just passing this along because I like the folks involved with, and products offered from Alien Skin.
That’s all really. If you’ve been interested in any of the Alien Skin software and haven’t pulled the trigger, they’re offering 30% off (and free updates/not upgrades mind you) until Tuesday March 15th. If you’re interested in what I’ve had to say about them, you can read my personal experiences via the links below:
I’ve not played around with the others yet, but I’m sure that any Alien Skin product would be worth while as long as it’s particular skill set appealed to you. I would very strongly suggest at least trying out the free trials of both Exposure and Bokeh if you’ve not already to see if the discount rate is enough to push you.
You can download the trials or purchase any of the Alien Skin software directly from their website here: Alienskin.com
Have a great weekend!
Tyson
*Lo-Fi, you know you want to.
I received an email the other day from a contact I’d made while doing the review posts for Alien Skin letting me know they had a new desktop app to process jpeg images in a fun and creative way. The app is called Lo-Fi, and it is AWESOME! Having just recently posted a couple of my tricks to age and vintage-i-fy digital images, I have been in a post production, digital file aging mood and this app is a quick and easy way to get a huge variety of looks. Read on for links and images…
*Adding an ‘aged’ feel to your photographs.
One thing I find funny about modern digital photography, is how much we tend to revert back to wanting it to look like film. The irony of using a $600+ software program, thousands of dollars in camera gear and a bit of time in front of a computer to get an image to look like it was taken with an older film camera and some expired film is not lost on me. But, if we’ve already got the tools, why not have the ability to use them for a variety of effects right? I love vintage, or aged processing, so here are a couple techniques I have played around with to get my high resolution images to look like they were taken a while back…
*The Eyes Have It.
Eyes are not only a window, but a roadmap. I’ve always felt that I can tell a lot about a person based on the shoes they wear, and the kind of person they are by their eyes. Eyes tell you a story, they paint emotion and can determine the power of a portrait. Of course there are many, many other elements to pay attention to, but a good portrait quite often starts and ends with the eyes. Even in snapshots, making sure everyone’s eyes are at least open is one of the first things you check when glancing on the LCD screen right? Assuming we’ve captured a shot with eyes open wide, getting them to pop can make the difference between a good portrait and a wow shot. Here are a few techniques that I use, and have found from others, that can help make those eyes stand out.


