

A couple years ago, I’d posted a tutorial on simple eye enhancement techniques and I wanted to revisit and build on that. Lately, “Photoshop” has seemed to be getting absolutely bludgeoned and cast as some evil, socially destructive outcast. Used as a verb, photoshopping has become akin to kicking a blind puppy, and then forcing it into a life of anorexia. While I am in no way a fan of, nor support using photoshop to unnaturally build unrealistic body proportions, or overly plasticize a face to perfection, I will make the case that retouching is an art and like anything has boundaries. If viewing retouching from a creative angle, there are things that can be a lot of fun. If viewing retouching from a practical angle, it can be effective. Going overboard in any direction can certainly lead to criticism, but so many forms of artistic manipulation have and will always continue to draw ire. For this post, I want to play around with both the creative and practical angles in regards to enhancing one’s eyes in a portrait. Thank you to my friends Mat and Heather from Mirrorlessons – Bestmirrorlesscamerareviews.com for the shot you see above. Eyes are often a focal point in many a good portrait, so why not add a bit of punch to that focal point? Come on in to see how I achieve this quickly and easily. If interested, you can download these eye enhancement Photoshop actions for free…

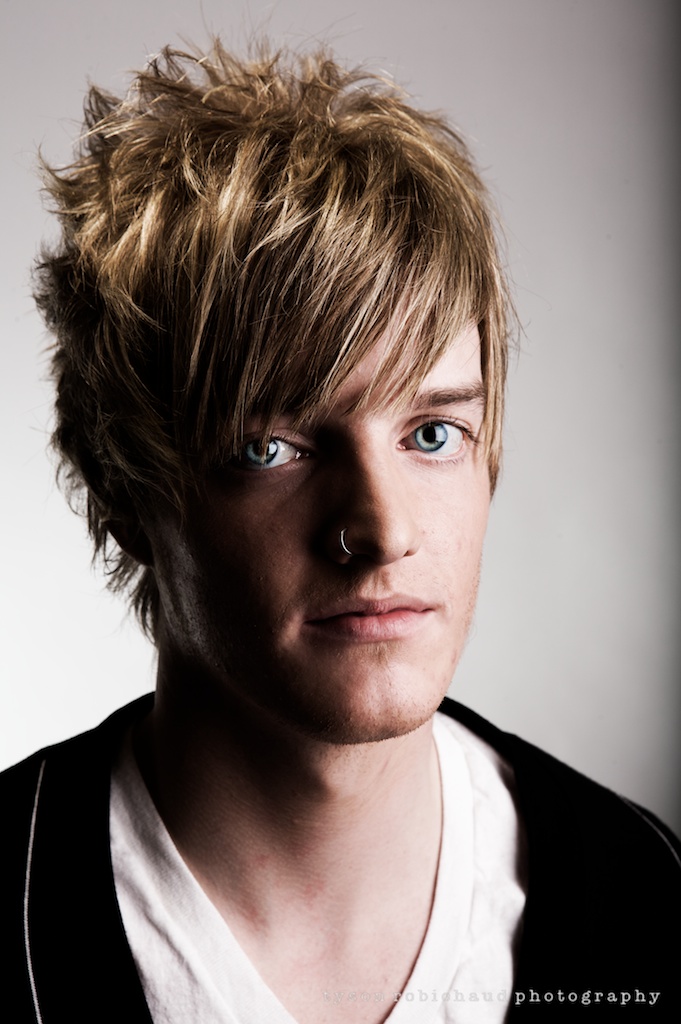
Photo ©Mathieu Gasquet
Directly above is the before image. A nice portrait with great control of the depth of field to separate Heather from the background elements allowing us to easily focus on her as the subject of the image. To better connect with most portraits, I find it very useful to add a little bit of punch to the eyes. I try to keep any enhancement subtle as I don’t want the enhancement to become the subject, but if done with a light hand, your viewers won’t know that you’ve done anything, but that little bit can add to an already great image.
For those of us who may enjoy using photoshop or photoshop elements to enhance our portraits a little bit, here is one technique that I find helps provide a pop to one of the more natural focal points in any image of people, the eyes.
Watch the video below for a step by step, but honestly this effect is easy to do.
- First, we want to lighten the eyes. I do this by duplicating the background (image) and setting the blend mode to screen.
- I then add a mask while holding alt/option which hides that screen layer and with a soft white brush, I paint that brightened layer back into the irises or anywhere I want to lighten.
- Then add a new blank layer and set its blend mode to overlay (or soft light, either work similarly). With whichever color I want, I paint over the lightened irises and adjust both the brightened layer and the color layer opacities until they look right.
- Next, I add a high pass sharpening layer and like the above steps, I set the blend mode to overlay and holding alt/option I create a mask and paint that effect back in.
As mentioned, you can see all of this better explained in the video below and scroll down to find links to download both of these actions for free (EyeTime – Color enhancement and EyeTime – Sharpening) via Presetpond.com below.
This technique can be used to varying result. I choose to use it to further enhance the natural colors of the subject’s eyes. It can also be fun to go off the rails and start to paint in different colors for a more surreal result. I’m merely giving you the fishing pole and a little instruction, feel free to catch yourself a shark.
Here are crops of the before and after, just to see what I do in the video:


I use Mathieu’s portrait of Heather in the video, and you can see that I can easily adjust the end result drastically by adjusting the layer opacities. Above, there isn’t a huge difference because I pulled it back to where I’d end up, not wanting to go too far with it, but giving it just enough brightening and sharpening to pop comparatively. You can go as far as you want (as you may see by some of the images below that take this a little further) but I feel that most portraits can benefit from a little attention to the eyes. Thank you again to both Mathieu and Heather from Mirrorlessons for letting me use this image to illustrate the technique.
If you’d like to download both of these actions for free, go to the links below which have them hosted at Presetpond.com along with a couple other downloadable actions I’ve created in the past.
To download from Presetpond, you’ll need to set up a free profile, but it takes 15 seconds and you can then download tons of free, user added Photoshop, Lightroom, Aperture and Elements actions and presets as well as contribute your own. I’ve used Presetpond for years and really appreciate what Thomas has provided for those of us looking to easily share presets and downloads. If you have extra money lying around and enjoy supporting folks that provide free content, feel free to donate a few bucks to Thomas as well 🙂 Good web karma never goes unrewarded.
Click the links below to go to the download pages for these actions at preset pond:
Tyson’s Eye Time Color Enhancement
Thanks all! I’d love to hear about your experience and would be happy to help in any way I may be able to, so shoot me a comment below, find me on FACEBOOK or TWITTER and feel free to sign up to receive new articles and reviews as they go live by entering your email at the top right of the page.
Here are a few more example images where I’ve used the same two actions to further enhance the eyes.


Thanks for the read and happy shooting!
Tyson

Pingback: *Congratulations to Marco Bozzato for winning our first Flickr Photo Blog Post | Tyson Robichaud Photo-blography
These are great subtle touches. As its not over the top I find myself asking what has drawn me in . Really great technique, ill give it a bash later, thanks man. Always inspiring
C
LikeLike